Overview
We've made it easy to get up and running with a donation form on your nonprofit website with code snippets that you can drop into your website. Follow the guides below to launch your fundraising page in just a few minutes.
This is only available if you have a Business or Commerce Wordpress plan. Check the My Plan tab under Upgrades to confirm your plan type.
Load the JS library
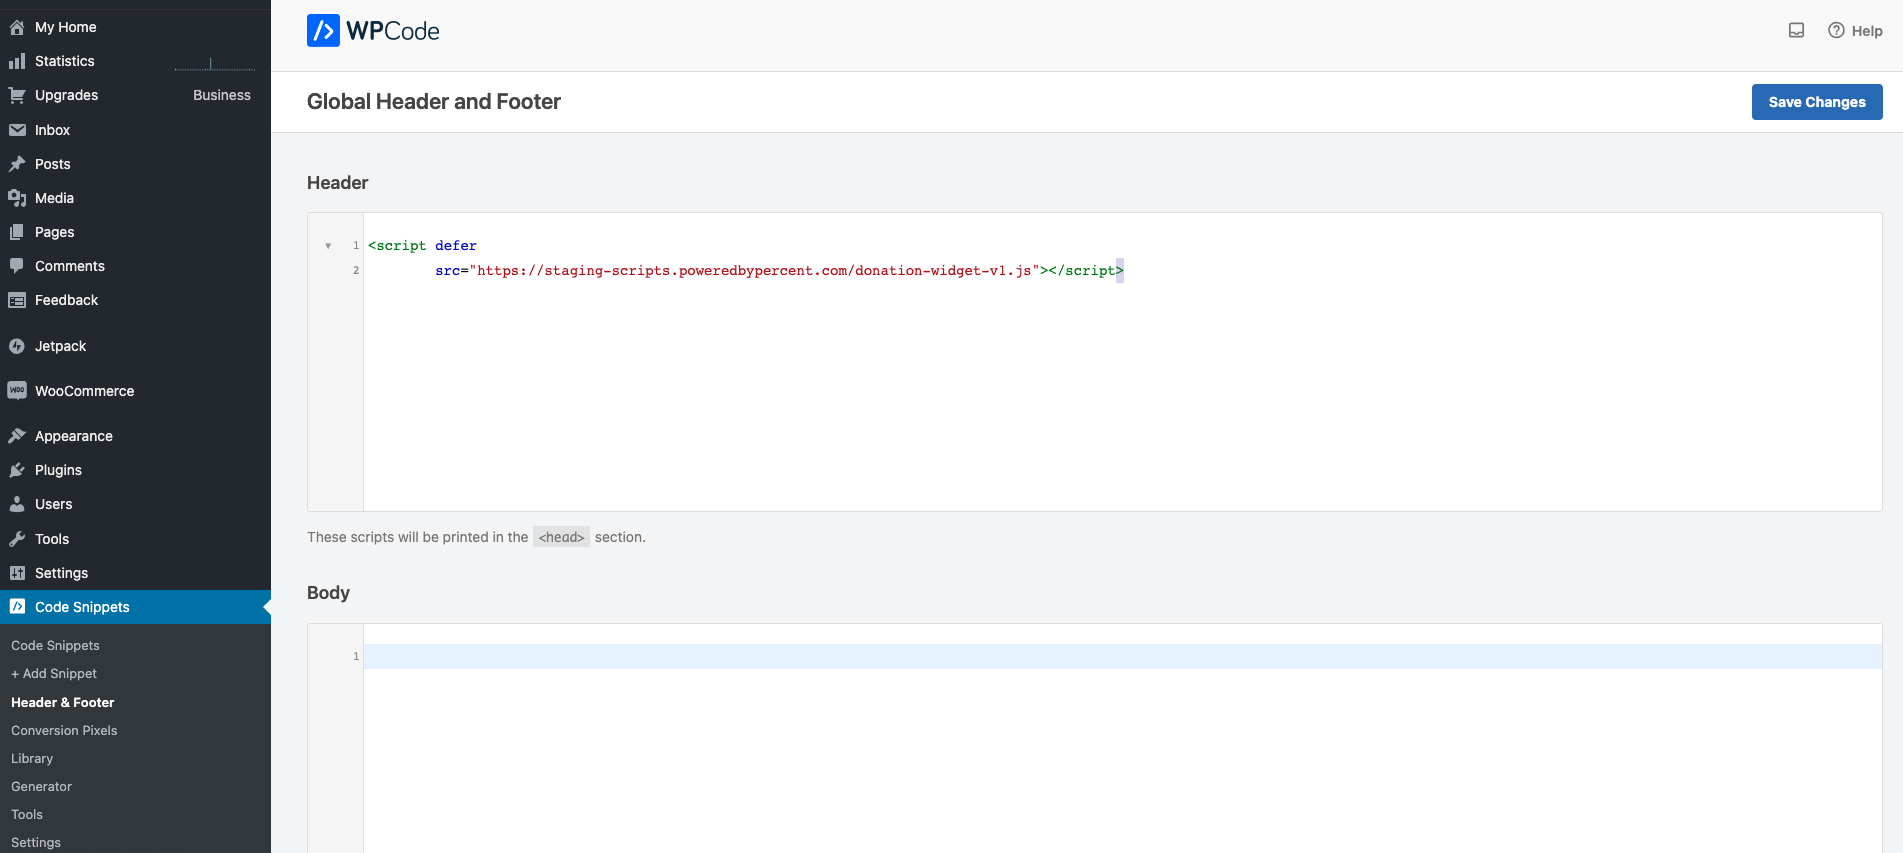
To use our donation form widget, you'll need to load a JavaScript library. You can do that using the code snippet below (also available in your Causes Portal account):
<script
  defer
  src="https://scripts.poweredbypercent.com/donation-widget-v1.js"
></script>
- Log in to your Wordpress site
- Click on the
Code Snippetsmenu item - Select
Header & Footer - In the
Headerfield paste above code snippet - Click
Save changes
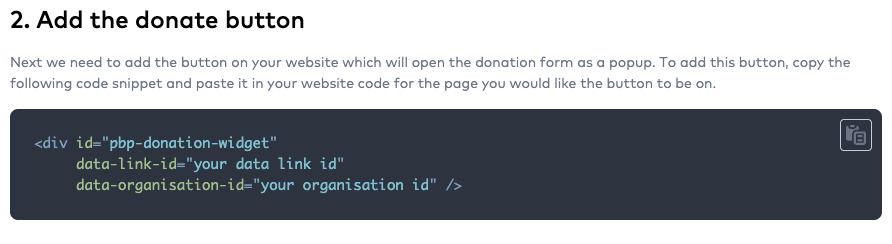
Add the donation button
After loading the library, you can add the widget to your website.
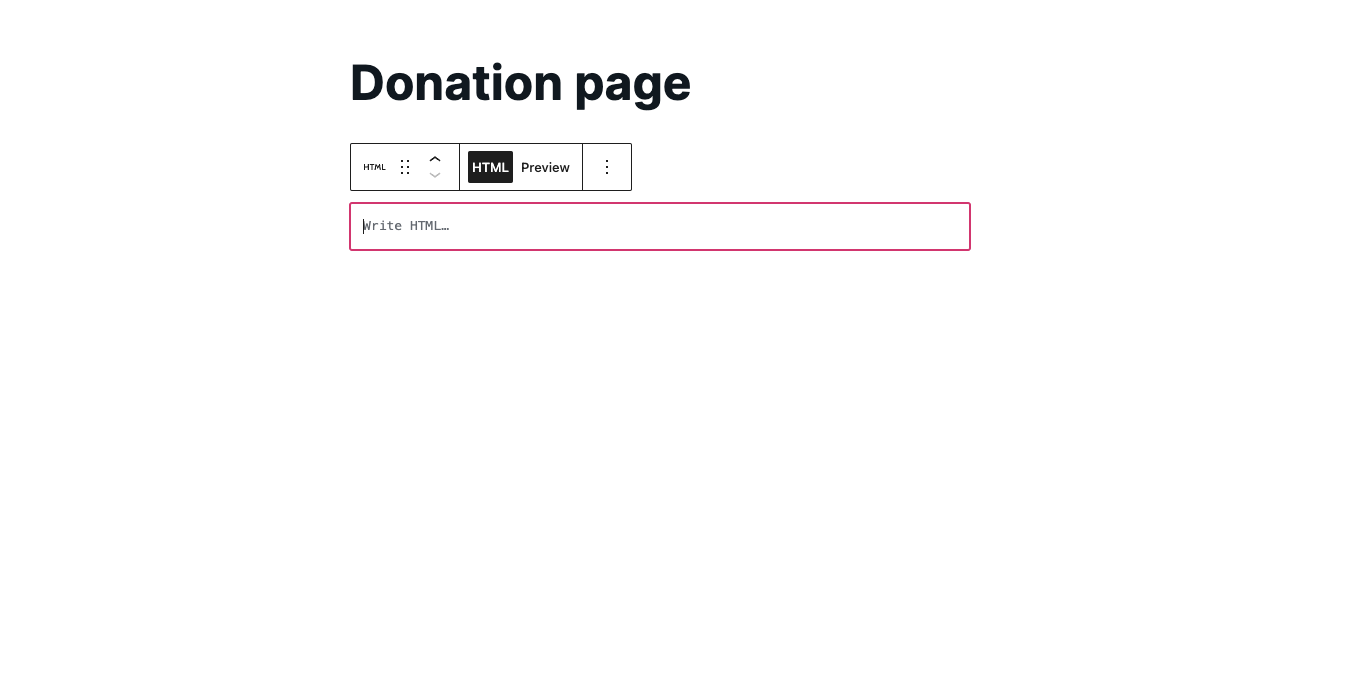
- Navigate to the page where you want to embed your donation widget
- At the location where you want to add the donate button, click + to add a new block
- Now click on
Browse all, search forHTMLand selectCustom HTML - In the
Write HTML...field, paste the second code snippet under the heading "Add the donate button" from your Causes Portal account
Publish your site
After adding the content, preview the updates and publish them once you are happy.

Need help?
If you are stuck with any of these steps, please get in touch via our help center or send us an email at donations@goodstack.io.